1、打开VMware Workstation,启动 CentOS,
打开Xshell 5,连接 CentOS。


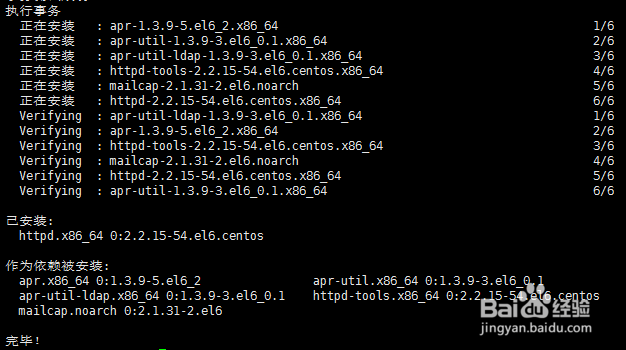
2、输入命令:
yum install httpd -y
等待安装完成。

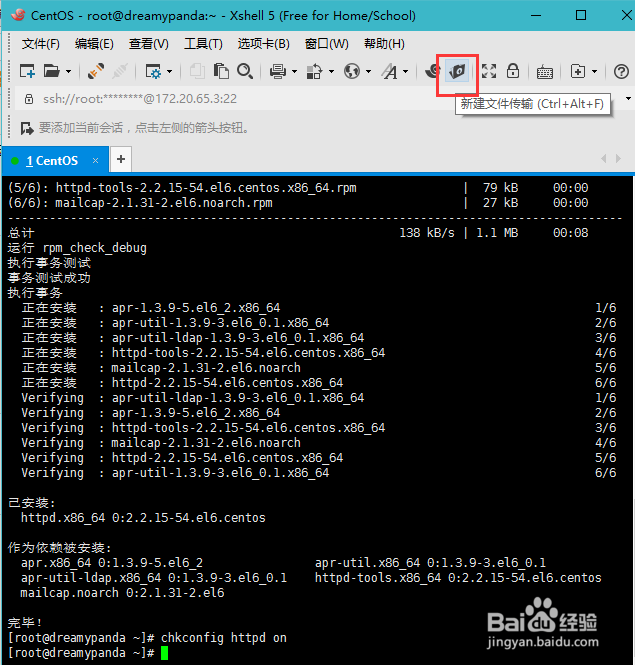
3、接着将Apache设置为开机启动,输入命令:
chkconfig httpd on

4、配置Apache。
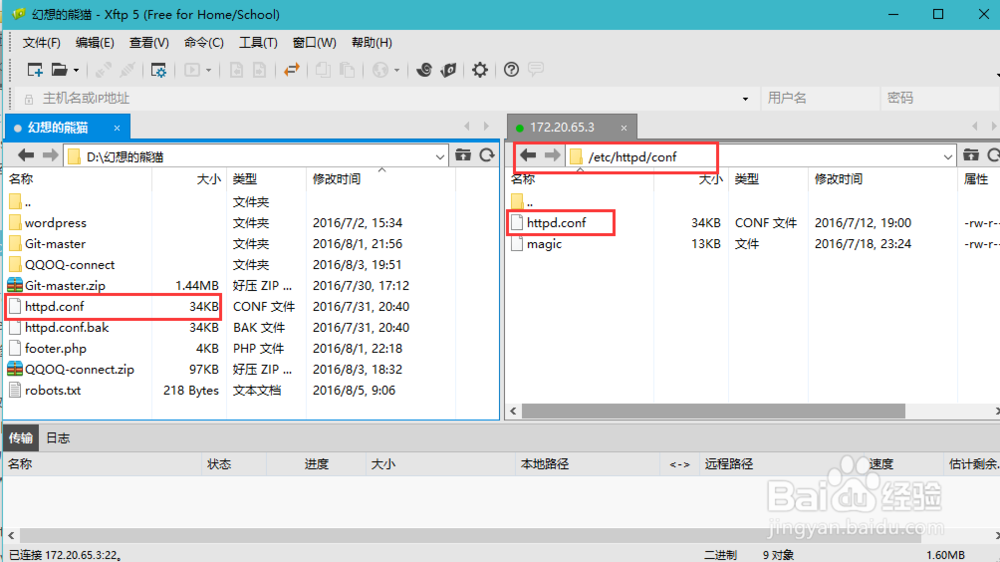
点击 Xshell右上方的文件夹图标,启动Xftp。

5、将Xftp右边的目录切换至 /etc/httpd/conf/
将 httpd.conf文件下载至本地。
6、使用Notepad++打开httpd.conf。
在文件中查找下面所在行,进行修改:ServerTokens OS 修改为:
ServerTokens Prod (在出现错误页的时候不显示服务器操作系统的名称)
ServerSignature On 修改为:
ServerSignature Off (在错误页中不显示Apache的版本)
Options Indexes FollowSymLinks 修改为:
Options Includes ExecCGI FollowSymLinks (允许服务器执行CGI及SSI,禁止列出目录)#AddHandler cgi-script .cgi 修改为:
AddHandler cgi-script .cgi .pl (允许扩展名为.pl的CGI脚本运行)
AllowOverride None 修改为:
AllowOverride All (允许.htaccess)
Options Indexes MultiViews FollowSymLinks 修改为
Options MultiViews FollowSymLinks (不在浏览器上显示树状目录结构)
DirectoryIndex index.html index.html.var 修改为:
DirectoryIndex index.html index.htm Default.html Default.htm index.php Default.php index.html.var (设置默认首页文件,增加index.php)
KeepAlive Off 修改为:
KeepAlive On (允许程序性联机)
MaxKeepAliveRequests 100 修改为:
MaxKeepAliveRequests 1000 (增加同时连接数)
修改完保存,然后上传至CentOS,覆盖原文件。
另外,建议删除/etc/httpd/conf.d/welcome.conf和/var/www/error/noindex.html这两个测试页面。

7、在Xshell中输入:
service httpd restart
重启Apache.

8、同上,修改 /etc/sysconfig/iptables 文件,
在 -A INPUT -m state --state NEW -m tcp -p tcp --dport 22 -j ACCEPT
下添加
-A INPUT -m state --state NEW -m tcp -p tcp --dport 80 -j ACCEPT

9、重启iptables,输入命令:
service iptables restart

10、在浏览器里输入CentOS的ip地址,如果能正常打开Apache的页面,
则说明Apache已正常安装。
