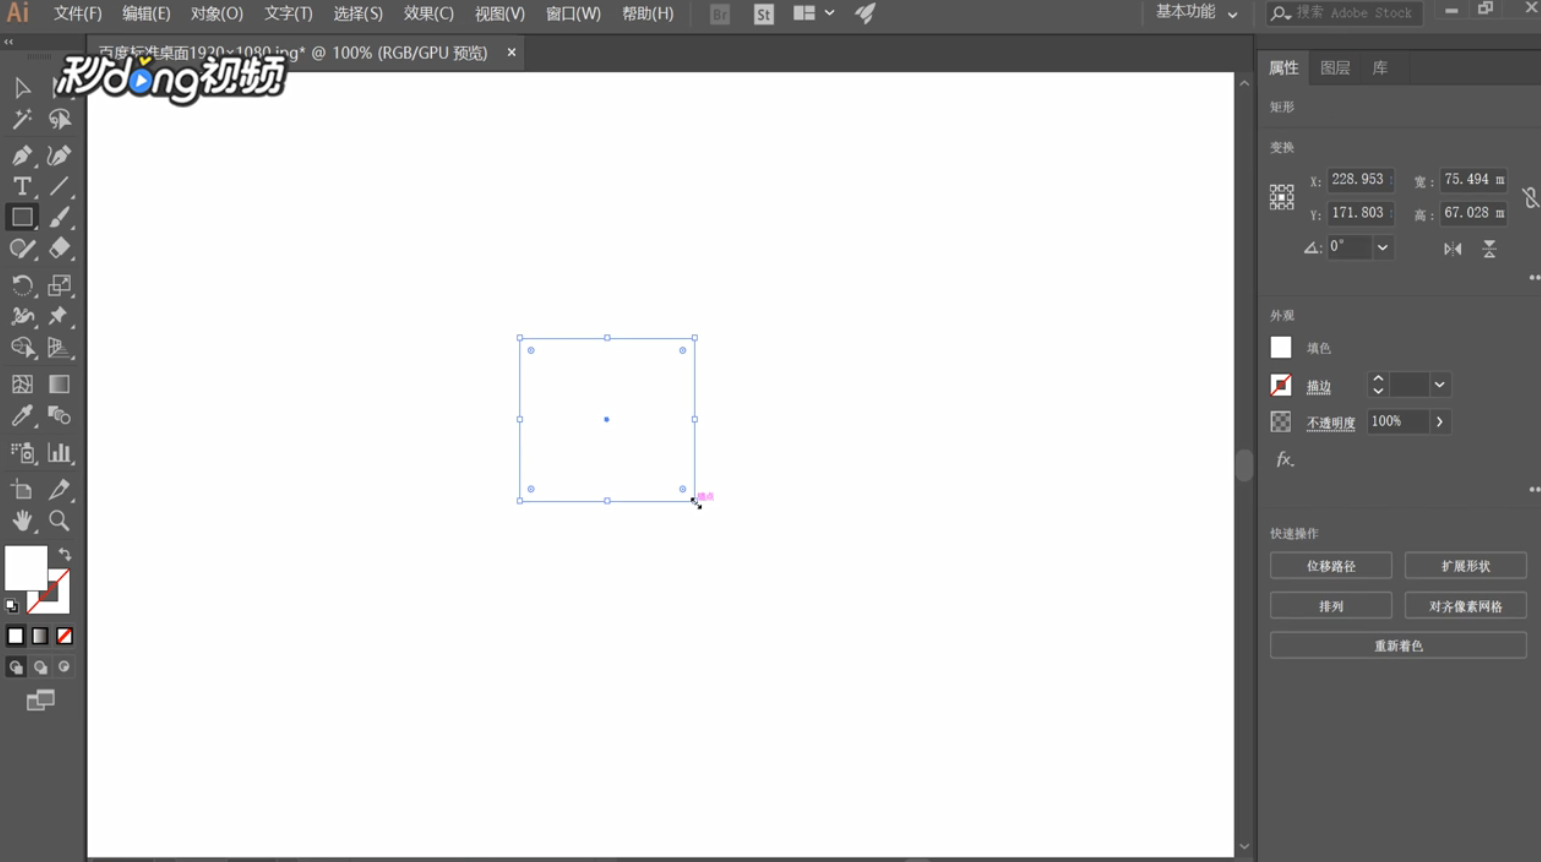
1、在Ai中打开一张白色背景图片,点击“矩形工具”。

2、在白色区域中画一个矩形,双击左边“填色”工具。
3、点击需要的颜色,点击“确定”。

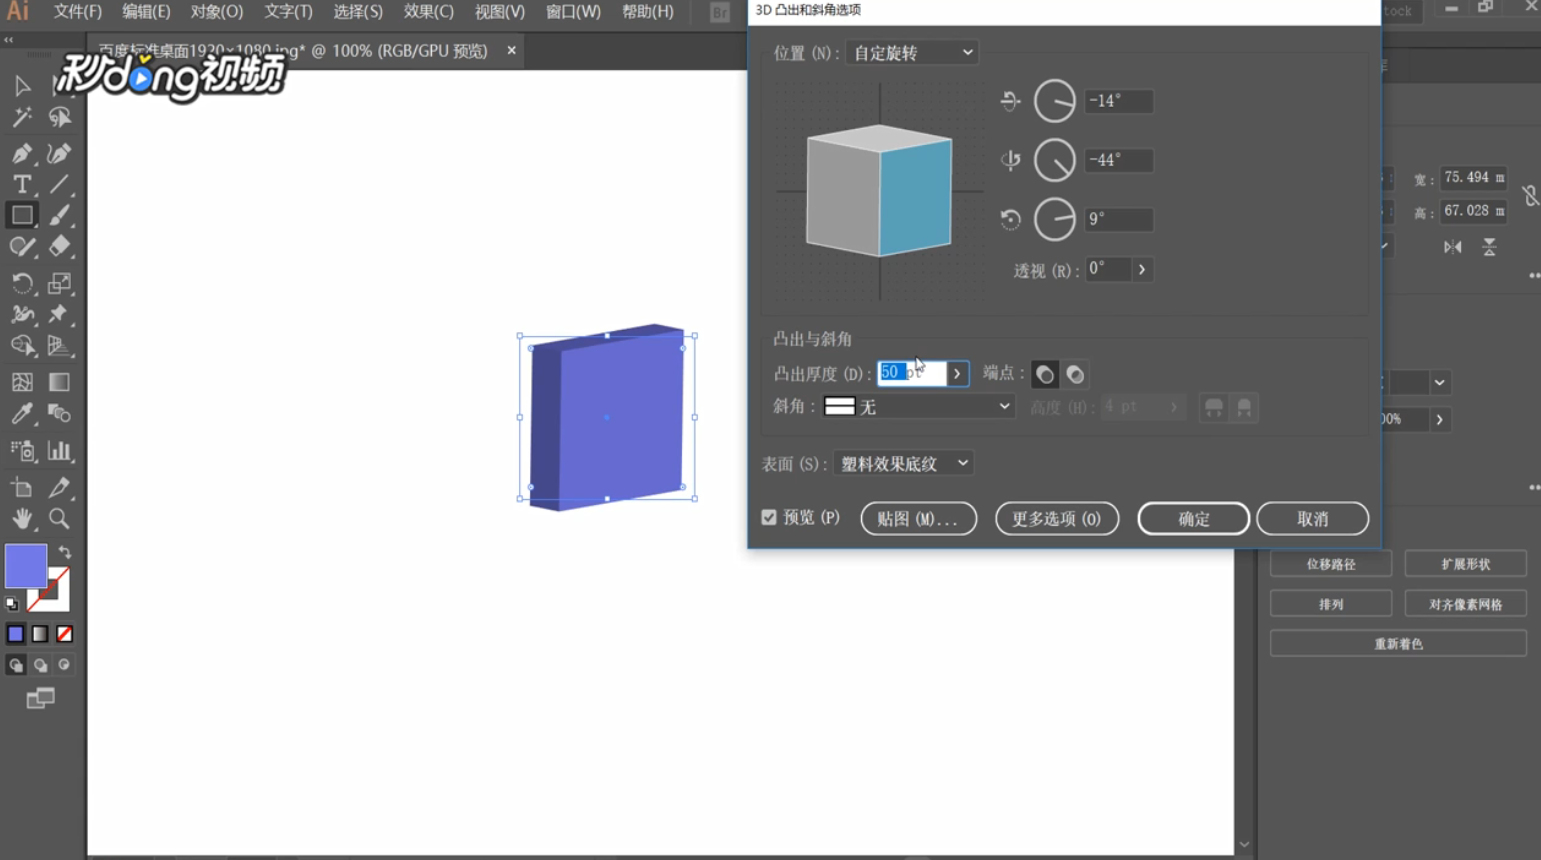
4、点击“效果”,找到“3D”,点击“凸出和斜角”。

5、勾选“预览”前面的方框,根据需要调动物体。

6、调整“凸出厚度”大小,点击“更多选项”。
7、设置“高光”,点击“确定”。

8、点击“效果”,点击“风格化”,点击“投影”。

9、设置“模式”等选项,点击“确定”。

1、在Ai中打开一张白色背景图片,点击“矩形工具”。
2、在白色区域中画一个矩形,双击左边“填色”工具。
3、点击需要的颜色,点击“确定”。
4、点击“效果”,找到“3D”,点击“凸出和斜角”。
5、勾选“预览”前面的方框,根据需要调动物体。
6、调整“凸出厚度”大小,点击“更多选项”。
7、设置“高光”,点击“确定”。
8、点击“效果”,点击“风格化”,点击“投影”。
9、设置“模式”等选项,点击“确定”。