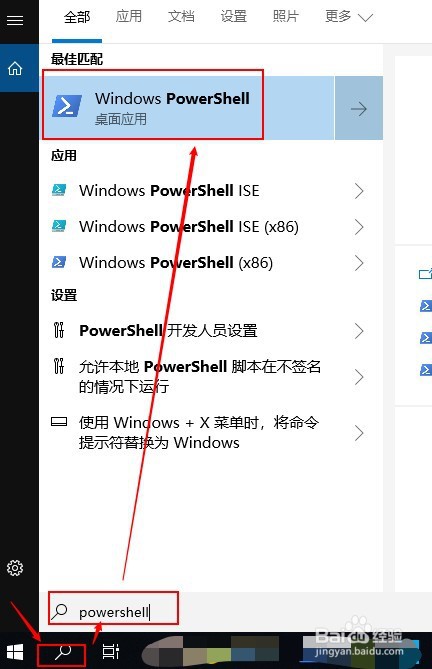
1、打开powershell
使用系统搜索 -- 收入powershell -- 点击打开
2、输入指令: pip3 install --upgrade pip 进行pip源的更新
输入指令:pip3 install jupyter 安装jupyter

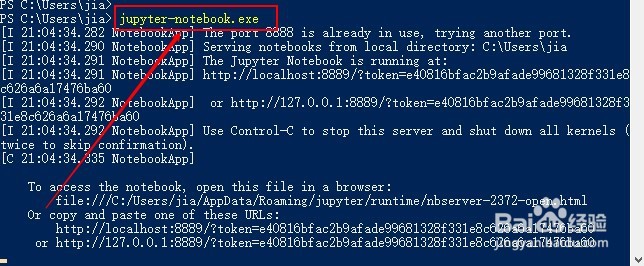
3、自动安装完成后
输入指令打开: jupyter-notebook.exe
自动会在浏览器下打开。
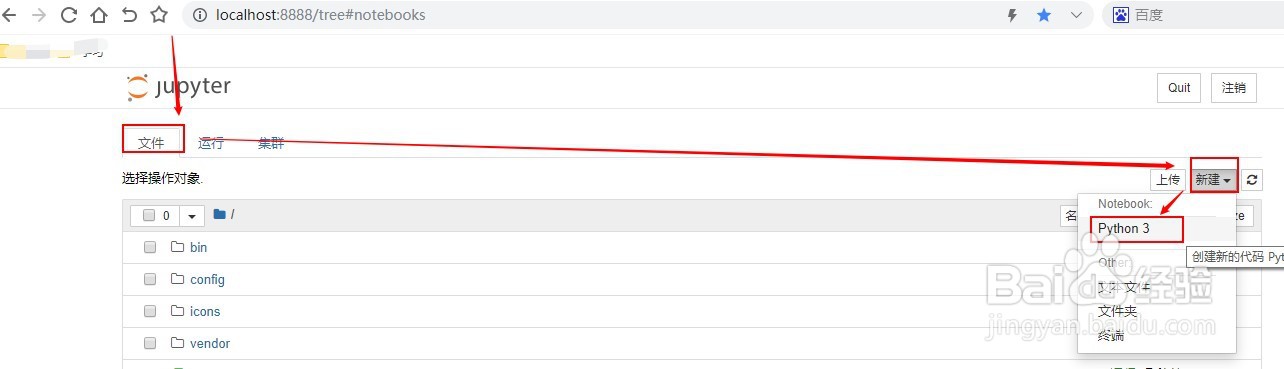
4、在页面上点击右边的“新建”
下拉菜单点击“python3”进入Python3程序笔记测试界面
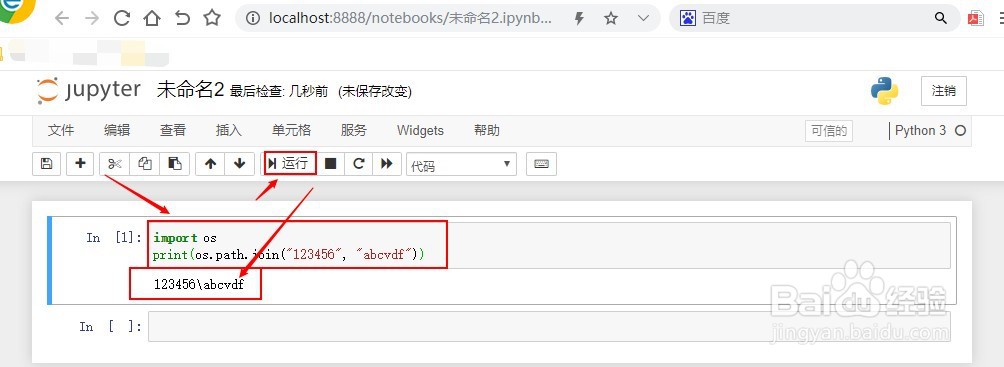
5、编写一段python3代码,点击运行,没有报错表明jupyter已经安装好了
6、总结:
1. 打开powershell
2. 输入指令: pip3 install --upgrade pip 进行pip源的更新
3. 输入指令:pip3 install jupyter 安装jupyter
4. 测试是否安装好